Cleaning Aged Glass Without Damaging the Patina

A collector unboxes a rare 1920s cobalt blue milk bottle, only to find a thick layer of calcium buildup and a stubborn, cloudy film inside the neck. They reach for a stiff bottle brush and some heavy-duty scouring pads, but stop just in time. One wrong move could strip away the iridescent sheen or the delicate surface patina that gives the piece its historical value. This guide covers how to safely clean aged glass bottles and small collectibles without ruining their character. We'll look at the right solvents, the tools to avoid, and how to handle different types of buildup.
Cleaning vintage glass isn't just about making it look new. It's about removing the grime that can actually damage the material over time while preserving the history. If you're too aggressive, you'll end up with a scratched, dull bottle that's lost its soul. If you're too timid, you'll never get that stubborn residue out.
How Do I Remove Calcium Buildup from Glass Bottles?
The safest way to remove calcium buildup is by using a diluted acid solution, such as white vinegar, and letting it sit undisturbed. Calcium, often called "scale" or "limescale," occurs when hard water minerals settle inside the glass over decades. If you try to scrub this out with a wire brush, you'll likely create micro-scratches that make the glass look cloudy forever.
Before you reach for the chemicals, identify what you're actually dealing with. Is it surface dirt, or is it an internal mineral deposit? Here is a breakdown of common substances found in vintage bottles:
- Limescale/Calcium: Hard, white, or crusty deposits often found in the neck or bottom.
- Organic Residue: Sticky or dark substances left over from the original contents (like syrups or oils).
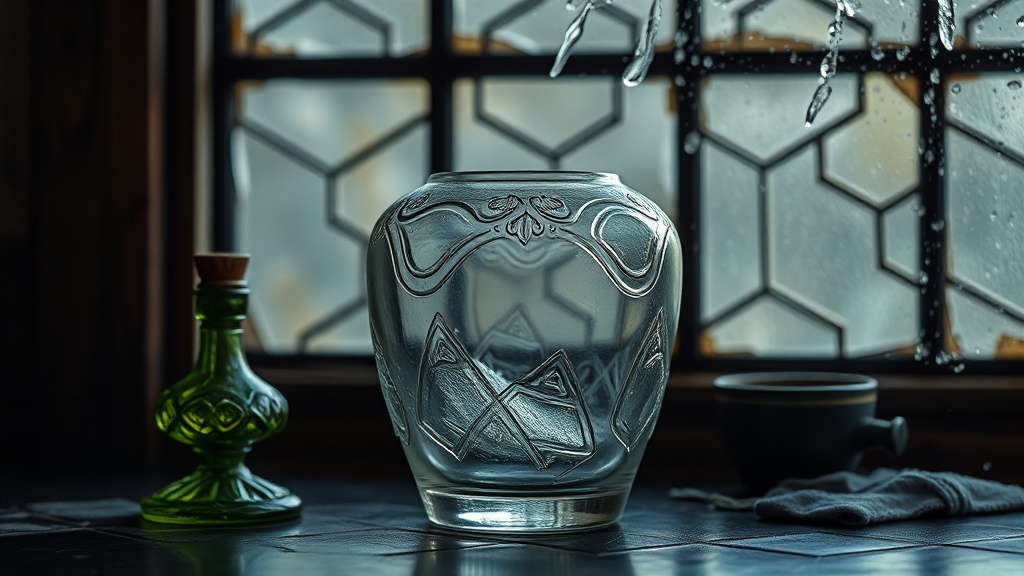
- Patina/Iridescence: A thin, often colorful layer caused by chemical reactions or age—this is what you want to protect.
- Glass Disease: A structural issue where the glass actually begins to degrade (this is permanent).
For most collectors, a soak is better than a scrub. A mild solution of distilled water and a small amount of pH-neutral soap is your first line of defense. If that doesn't work, move to a vinegar soak. Vinegar is a weak acetic acid, which is effective at dissolving minerals without being as aggressive as industrial cleaners. Just don't leave it in for days—excessive soaking can sometimes affect certain types of colored glass or older labels.
If you're dealing with a particularly stubborn piece, like a heavy stoneware crock or a thick glass jug, you might consider a specialized cleaner. However, always check the Wikipedia entry on glass disease first. If the glass is "weeping" or has a white, powdery crust that feels like it's part of the structure, you might be looking at a chemical breakdown of the glass itself, which no amount of cleaning will fix.
What Tools Should I Use to Clean Small Glass Collectibles?
You should use soft-bristled brushes, distilled water, and non-abrasive sponges to ensure you don't scratch the surface. Avoid anything metal, stiff, or jagged. The goal is to be gentle—even if the bottle looks like it could survive a car crash.
I've seen people use metal cocktail stirrers to poke at a piece of debris inside a narrow-neck bottle. Please, don't do that. You'll end up with a permanent scratch or, worse, a broken piece of glass stuck in the neck. Instead, build a kit of specialized tools designed for delicate work.
| Tool Type | Best Use Case | Warning |
|---|---|---|
| Silicone Bottle Brush | Gentle internal cleaning | Avoid stiff nylon bristles |
| Distilled Water | Rinsing and dissolving | Tap water adds more minerals |
| Microfiber Cloth | External drying/polishing | Never use paper towels |
| Soft Makeup Brush | Dusting exterior details | Keep away from paint/labels |
When you're working with "smalls"—those tiny medicine vials or glass beads—a standard bottle brush is too big. This is where the makeup brush comes in handy. A clean, soft kabuki brush or a high-quality eyeshadow brush is perfect for sweeping dust out of crevices without any risk of abrasion. It's a cheap way to get professional results at home.
One thing to remember: never use a dishwasher. It's tempting to just toss a dirty milk bottle into the machine to save time, but the heat and the high-pressure water jets are a recipe for disaster. The thermal shock can cause old glass to crack, and the harsh detergents can strip away the very patina you're trying to preserve. (And don't even get me started on the risk of a chipped rim from a rattling cycle.)
Can I Use Dishwasher Detergent on Vintage Glass?
Yes, you can use a very small amount of mild, pH-neutral dish soap or a tiny bit of liquid detergent, but you must avoid heavy-duty dishwasher pods or abrasive powders. Most commercial dishwasher detergents are highly alkaline and can actually etch the surface of older glass over time.
If you're cleaning a piece that has a paper label—like an old soda bottle or a branded milk bottle—be extremely careful. Water and soap will destroy a vintage label in seconds. If the label is part of the value, don't clean the whole bottle. Instead, use a damp cloth to wipe around the label, or better yet, leave it alone. A bit of "shelf grime" is often more acceptable to collectors than a ruined, peeling label.
For items without labels, like a plain cobalt blue glass bottle, a soak in lukewarm water with a drop of safe cleaning products is usually plenty. If you're dealing with an oily residue from an old apothecary bottle, a tiny bit of dish soap (the kind you use for hand-washing dishes) will break down the lipids without being overly harsh. Just make sure you rinse it thoroughly with distilled water afterward to prevent any new mineral spots from forming as it dries.
Here's the thing: the "cleanest" bottle isn't always the most valuable one. In the world of milk bottles and glass collectibles, a certain amount of age is expected. If you're trying to make a 1940s bottle look like it just came off the assembly line, you're actually decreasing its historical integrity. Use your judgment. If the dirt is just a light dusting, a dry microfiber cloth is your best friend. If it's a crusty mess, proceed with the vinegar soak, but keep it brief.
The process of drying is just as important as the washing. If you let a bottle air-dry on a countertop, you'll just end up with new water spots. I always recommend drying pieces upside down on a soft towel, or using a hair dryer on the lowest, coolest setting to blow the water out of the neck. This prevents any moisture from being trapped inside, which can lead to mold or further mineral buildup down the road.
If you're working with much more delicate items—think hand-blown glass or pieces with applied glass decorations—you might want to look into ultrasonic cleaners. They are common in jewelry circles, and while they can be effective for small, sturdy glass pieces, they are risky for anything with thin walls or fragile protrusions. It's a high-reward, high-risk tool.
Always test a small, inconspicuous area first. If you have a bottle with a slight iridescent sheen, try a tiny bit of your cleaning solution on the very bottom corner. If the sheen disappears or turns dull, stop immediately. That sheen is a sign of the glass's history, and once it's gone, it's gone for good.
Steps
- 1
Inspect for Cracks
- 2
Prepare a Mild Solution
- 3
Use Soft Brushes Only
- 4
Air Dry Thoroughly