How to Clean, Display and Preserve Vintage Milk Bottles

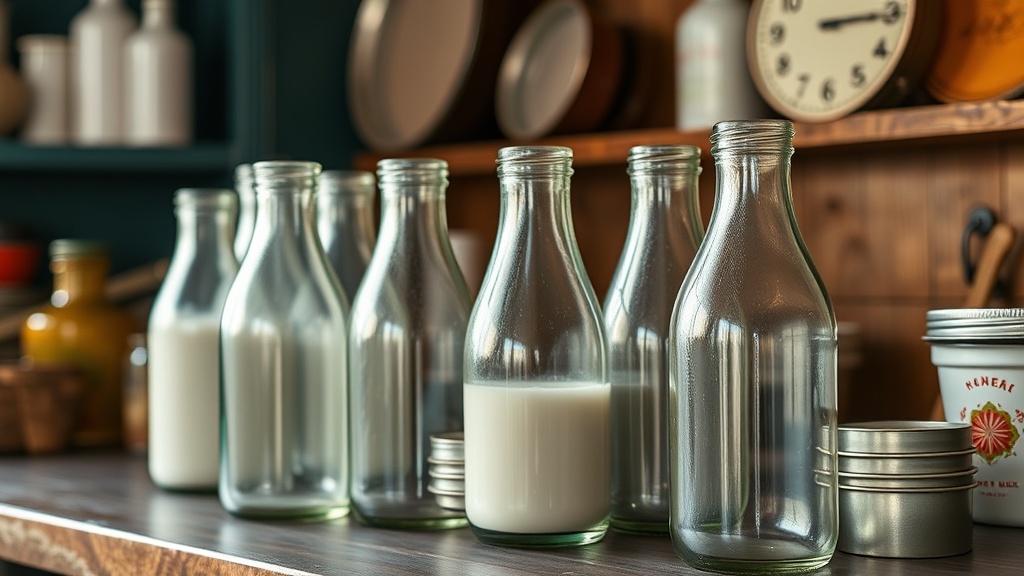
This post covers the practical steps for cleaning, displaying, and preserving vintage milk bottles so they stay in top condition for years to come. Whether you’ve just picked up your first embossed pint or you’re managing a shelf of dairy memorabilia, the way you handle these bottles directly affects their value, appearance, and historical integrity. Damage from harsh chemicals, direct sunlight, or unstable shelving is permanent—and often avoidable. The good news? A few straightforward habits make all the difference.
How do you clean vintage milk bottles without damaging them?
You clean vintage milk bottles with warm water, a mild detergent like Dawn Platinum, and patience—never with abrasive scrubbers or bleach. (Yes, that cloudy residue will come off eventually.) Start by rinsing the bottle with lukewarm water to loosen dust and loose grime. Avoid sudden temperature changes; glass that has spent decades in a barn or basement can crack under thermal shock.
For interior stains—and most old bottles have them—fill the bottle with warm water and add a tablespoon of Orvus WA Paste or a similar pH-neutral soap. Let it soak overnight in a sink or plastic tub. The next day, agitate gently. If sediment remains, use a long-handled bottle brush with soft nylon bristles—the Dr. Brown’s Natural Flow Bottle Brush works well, though any soft-bristled brush will do. Never use steel wool, scouring pads, or Magic Erasers. They leave micro-scratches that catch light and reduce clarity permanently.
Tough calcium rings sometimes need a little chemistry. White vinegar diluted 1:1 with warm water can break down deposits after a 24-hour soak. For persistent cloudiness that vinegar won’t touch, collectors sometimes use a small amount of unscented rice as a gentle abrasive—shake it with warm soapy water, then rinse thoroughly. The catch? Rice can get stuck in narrow necks, so keep tweezers handy. OxiClean is sometimes suggested online, but the peroxide content can react badly with painted labels and old glass; most experienced collectors skip it.
Always air-dry bottles upside down on a lint-free microfiber towel. Paper towels—yes, even Bounty—sometimes leave fibers behind, and upright drying traps moisture in the base where mold can start. Once dry, handle bottles by the body or base, not the lip, to minimize oil transfer from skin. If you wear cotton gloves (the kind sold by Gaylord Archival), even better. Fingerprints contain acids that etch into glass over long periods.
What's the best way to display a milk bottle collection?
The best way to display a milk bottle collection is on sturdy, closed shelving away from windows, using LED lighting and stable supports that prevent tipping. Open wire racks look industrial, but they rarely cradle round bottles well. Wood shelves with a shallow front lip—or better yet, a glass-door cabinet like the IKEA DETOLF—keep pieces secure while still allowing full visibility from multiple angles.
Light is a bigger enemy than most people realize. Ultraviolet rays fade painted labels and degrade paper caps over time. Direct sun can even turn clear manganese glass into amethyst (which some collectors want, but it’s irreversible). Use Philips Hue LED strip lights or similar low-heat, UV-free lighting if you want to highlight embossed lettering after dark. LEDs don’t emit the infrared heat that incandescent bulbs do, so they won’t dry out corks or accelerate adhesive decay on old dairy labels.
Spacing matters more than aesthetics. Crowded bottles bump. Bump equals chip. Leave at least an inch between vessels, and avoid stacking one bottle on top of another unless you have custom-formed cradles. For especially rare pieces—think pre-1910 slug-plate dairies from Chicago or New England—consider individual acrylic stands. They’re inexpensive, widely available from suppliers like Gaylord Archival, and they keep the bottle upright without pressure on the finish or lip.
Worth noting: vibration is often overlooked. If you display bottles on a wall shared with a garage door or a busy hallway, small tremors can cause “walking” over months. Use museum putty (QuakeHold! Museum Wax is a popular brand) on the base of each bottle to keep it in place. It’s removable, non-staining, and surprisingly effective on glass and polished wood alike. Just apply a pea-sized dab and press gently.
Finally, consider the backdrop. A dark charcoal or navy wall makes clear and aqua glass pop—while a white background can wash out subtle embossed details. Some collectors mount shallow shadow boxes from Michaels or Hobby Lobby, lining the back with acid-free mat board. It’s a simple upgrade that looks far more expensive than it is.
How should vintage milk bottles be stored for long-term preservation?
Vintage milk bottles should be stored in a climate-stable environment with steady humidity, cushioned supports, and zero exposure to acids from wood or cardboard. Basements and attics are usually bad ideas. Temperature swings expand and contract glass, stressing old fractures and exacerbating existing chips. High humidity encourages mold on paper labels; low humidity dries out rubber caps and cork stoppers, making them brittle.
The ideal target is 65–70°F with 45–55% relative humidity. If you’re storing bottles in boxes, use archival-quality polyethylene foam inserts or acid-free tissue—not newspaper, not bubble wrap for decades. Newsprint ink transfers to glass and paper, and standard bubble wrap can off-gas plasticizers that create a hazy film on glass over time. Companies like University Products sell archival boxes and foam rods specifically made for cylindrical objects.
Here is a comparison of common storage materials for milk bottle collectors:
| Material | Pros | Cons | Best For |
|---|---|---|---|
| Acid-Free Tissue Paper | Soft, inert, inexpensive | Offers minimal impact protection | Wrapping bottles before boxing |
| Polyethylene Foam (Ethafoam) | Cushions shocks, chemically stable | Higher cost, bulkier | Custom cradles and long-term storage |
| Standard Bubble Wrap | Readily available, good padding | Can off-gas over time; plastic may stick to paint or labels | Short-term moves only |
| Newspaper | Free | Acidic ink transfers; abrasive fibers | Never use for collectibles |
If you must stack bottles in cabinets, place heavier, thicker-walled pieces on the bottom. Never nest bottles inside one another unless you’ve lined the interior neck with soft foam. Even gentle contact between rims can cause subtle chips that drastically lower resale value. That said, many collectors prefer open shelving for active display and only resort to box storage for overflow, seasonal rotation, or during a move.
For high-value bottles, consider custom-cut Ethafoam cradles. The foam is chemically inert, will not yellow, and absorbs impact better than loose tissue alone. You can order sheets from suppliers like University Products and cut them with a serrated kitchen knife. Wrap the foam in unbleached muslin if you want a cleaner look inside the box. It’s an extra step, but it keeps dust off the foam pores and the bottle both.
What common mistakes ruin vintage milk bottles?
The most common mistakes include using bleach, stacking bottles without padding, exposing them to sunlight, and storing them in damp basements or hot attics. Each of these errors causes damage that is difficult—or impossible—to reverse. Bleach, in particular, creates micro-pitting in old glass that gives bottles a permanently frosted, dull look. (It might seem like a quick disinfectant, but it’s a collector’s nightmare.)
Another frequent error is over-cleaning. Some newcomers scrub every bottle until it sparkles like new window glass. The problem? Original surface patina, light staining, and even faint milk residue inside a sealed bottle can be part of the historical record. Aggressive polishing with compounds like cerium oxide or Novus Plastic Polish removes glass layers and can erase embossing sharpness. Once you polish, you can’t put that glass back. Here’s the thing: a little honest age is preferable to a sanded-down surface.
Display location matters too. Kitchens are popular because bottles look at home near vintage butter churns, but cooking grease settles on glass and attracts dust. Bathrooms are even worse due to humidity and temperature spikes from showers. The safest spot is a living room, study, or dedicated collecting space with stable climate control. Keep bottles away from radiators, fireplaces, and HVAC vents.
Finally, avoid “creative” repairs. Super Glue, epoxy from the hardware store, and clear nail polish all yellow over time and can react with glass. If a bottle breaks, save the pieces in a labeled bag and consult a professional conservator. The American Institute for Conservation maintains a directory of specialists who work with glass and ceramics. It’s worth the inquiry before you reach for the Krazy Glue.
Condition is the currency of this hobby. A clean, well-lit, properly stored bottle tells a clearer story—and holds its value far better than one left to chance in a damp basement. Start with the right soap, the right shelf, and the right box. Your collection will reflect the care you put into it.