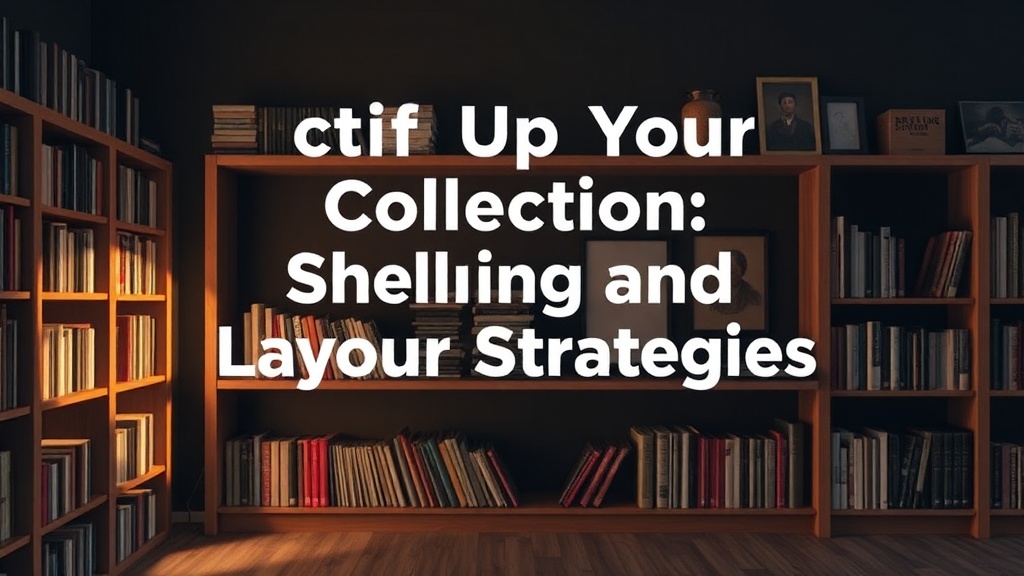
Setting Up Your Collection: Shelving and Layout Strategies

This guide explains how to organize your glass bottles, metal caps, and small-scale collectibles into a visually striking and safe display. You'll learn about weight distribution, lighting placement, and how to prevent your items from sliding or clashing in a crowded cabinet.
Getting a collection off the floor or out of cardboard boxes and onto a display shelf is a major milestone. It's the moment your hobby turns into a curated exhibition. However, many collectors make the mistake of simply grouping things by size or color without considering the physical realities of the objects. A heavy, thick-walled amber soda bottle has different structural needs than a lightweight, thin-glassed perfume bottle or a fragile metal cap. If you don't plan your layout, you risk more than just a messy look; you risk breakage due to uneven weight distribution or improper spacing.
When you're starting out, it's tempting to buy the first glass cabinet you see. But before you buy a single shelf, you need to think about the physical properties of your items. Glass is heavy, and if you're displaying a large collection of heavy-duty embossed bottles, a standard particle-board shelf might bow or even snap under the weight. You'll want to look for tempered glass or high-density wood. Also, keep in mind that light travels through glass in unpredictable ways—a bright light hitting a green bottle can cast a distracting, colored shadow across your entire room.
How much space should I leave between bottles?
One of the most common mistakes is crowding. While a dense collection looks impressive, it can be a nightmare for maintenance. If your bottles are touching, they can vibrate against one another if someone walks heavily near the display, leading to tiny chips or even cracks. I suggest leaving at least half an inch of clearance between your larger items. This isn't just for safety; it's for visibility. If a bottle is tucked behind another, you lose the ability to appreciate its shape or the embossed branding on its back. For smaller items like vintage metal caps, a tray-based system works much better than placing them directly on a shelf. A tray keeps them contained and prevents them from rolling into your more expensive glass pieces.
Consider using tiered acrylic risers for your smaller "smalls." These allow you to place smaller caps or tiny bottles in the front while taller bottles stay in the back. This creates depth and ensures nothing is hidden. If you're displaying a collection of metal caps, don't just scatter them. Group them by era or brand to create a sense of order. A disorganized-looking shelf often looks like a pile of junk rather than a curated collection. By using risers, you're utilizing the vertical space that most collectors leave unused.
What is the best way to light a bottle collection?
Lighting is where a collection truly comes alive. Without it, your glass looks dull and flat. However, you have to be careful with heat and UV rays. If you use high-intensity halogen bulbs, the heat can actually expand the glass or even cause certain types of vintage pigments to fade over time. LED lighting is your best friend here. It stays cool and provides a consistent light profile.
For a professional look, try to use indirect lighting. Instead of pointing a bright bulb directly at a bottle—which creates a harsh, blinding glare—aim the light at the back of the cabinet or use light strips that hide the source. This creates a soft, even glow that highlights the texture of the glass and the embossing without washing out the details. If you're displaying colorful glass, like cobalt blue or bright red soda bottles, lighting from the side or slightly behind can create a stunning silhouette effect. You can find excellent information on how light affects various materials through the Library of Congress archives, which often detail the history of material science and preservation.
How do I prevent my collection from sliding?
Nothing is more heart-stopping than seeing a prized bottle tilt toward the edge of a shelf. To prevent this, you should use non-slip materials. Clear silicone mats or specialized museum wax (sometimes called museum gel) are great for securing items in place. If you're displaying a collection of metal caps, a simple piece of velvet or a felt liner can prevent them from sliding around and scratching each other.
If you are working with a high-end display case, check the stability of the base. A wobbly cabinet is a dangerous one. You might want to look at The Metropolitan Museum of Art's resources on object handling and stability for more advanced ideas on how professionals secure fragile artifacts. For the average collector, a simple solution like a non-slip shelf liner is usually enough to handle the vibrations of a daily household. Just ensure the liner doesn't react chemically with the glass or any coatings on your metal items. Most standarded silicone liners are safe, but always check the material compatibility if you're dealing with highly sensitive vintage items.
Finally, remember that your display is a living thing. You'll likely add to it, and you'll likely change it. Don't feel pressured to fill every inch of space immediately. A collection that has "breathing room" looks much more sophisticated than one that is packed to the brim. As your collection grows, you might need to rethink your entire layout. This isn't a failure; it's part of the process of refining your eye for detail and organization.
Practical Checklist for New Displays
- Check Weight Capacity: Ensure shelves can handle the weight of glass.
- Plan the Depth: Use risers for small items to prevent them from being lost in the back.
- Verify Light Source: Use LEDs to avoid heat buildup and UV damage.
- Test Stability: Make sure the cabinet doesn't wobble when a door is opened.
- Add Texture: Use felt or silicone to prevent sliding and scratches.